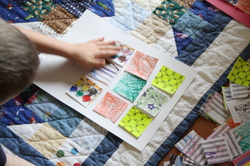
 We continued our lessons on the letter Qq today by exploring quilts. A few kids have special quilts at home, so some brought them to show and we got to see what it is that makes a quilt different from other blankets. The kids also did a fun project to make their own paper "quilts."
I gave each of the kids a patterned paper for them to color and decorate, making sure to explain ahead of time that these papers would be cut into pieces and shared. :) They then chose the color of the "backing" for their quilt, and each assembled their quilt squares to make their own unique quilts!
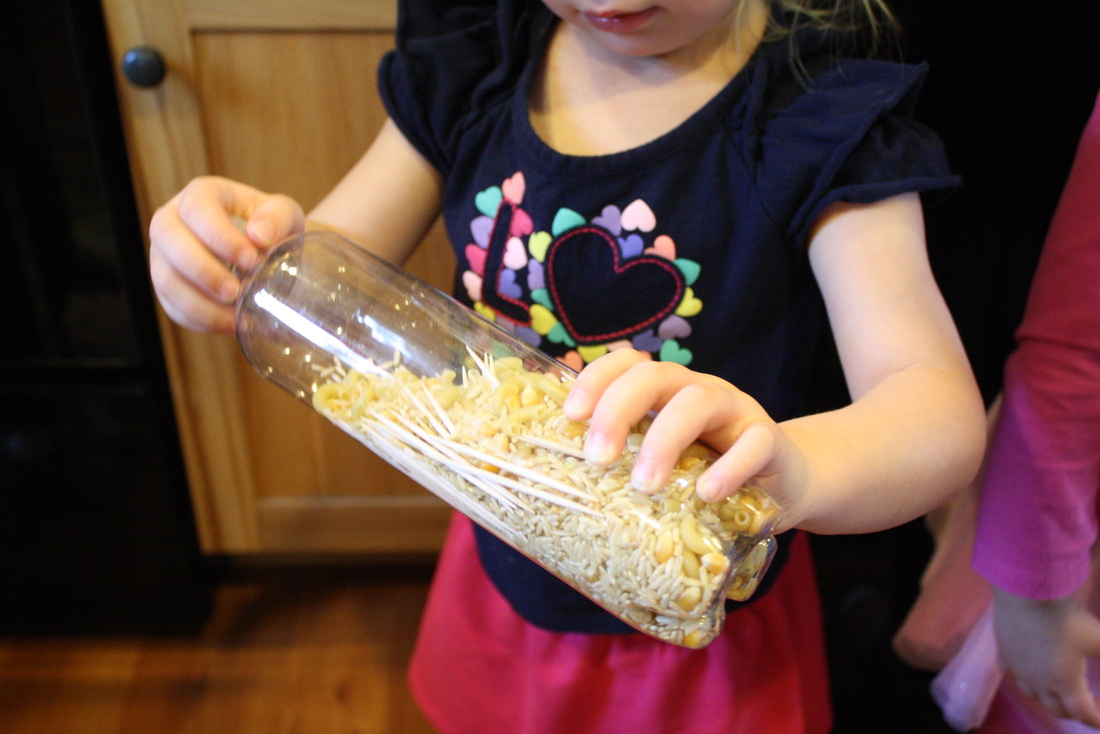
Last Friday, and again today, the kids have been helping me make some "Discovery Bottles." I have gathered some of my favorite ideas from the many that are out there on the web, and so far we have made six fun bottles for the kids to explore and play with. This one is our "Shaker bottle," filled with things like toothpicks, dry pasta, popcorn seeds, and rice. (Once the bottles were filled, I hot glued the lids on, both on the inside and again around the outside to seal them up tight.) The kids can shake this one hard and make lots of noise, or slowly tilt it back and forth to make some "rain" sounds. The one here on the left is our "sink or float" bottle. It was fun to fill it up and have the kids guess which items would sink and which would float. Now that it is done, they can shake it up and watch the items separate again and again.
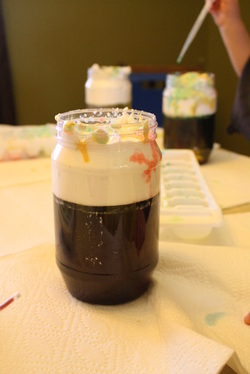
On the right is our "Oil & Water" bottle. In the picture below, you can see what it looks like when the kids shake it up and try to mix the oil with the water. After it is shaken, if they let it rest it will all separate out again. A fun way to talk about density. Today we added a liquid layers bottle, a sudsy soap bottle, and a glitter in water bottle. The liquid layers bottle is another fun demonstration of density, as it has many different layers of liquids such as rubbing alcohol, water, dishsoap, cooking oil, and shampoo, which all have different densities so they stay in their own separate layers. Then there is the sudsy soap bottle, which the kids love to shake up really hard and make lots of bubbles and then watch them dissolve. The last one for today is the glitter in water bottle, which is just another fun one to shake up and watch what happens, and reminds us of the snow globes we made this winter! I plan to add a few more bottles throughout the week, such as a marbles in hairgel bottle, and maybe a glitter in glycerine bottle, too.
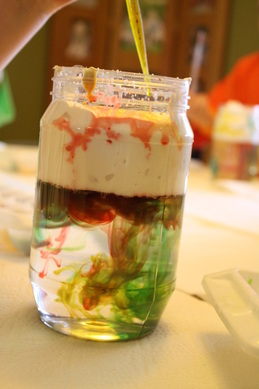
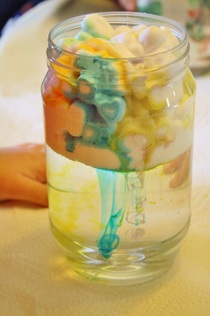 I had been saving this science project for a rainy day, so when the rain kept us inside this morning, we had lots of fun making a cloud in a jar! Each child started out with a jar about half to 2/3 full of water. Then I went around and added shaving cream to the top of each jar. I gave them each a dropper (probably my favorite tool for fine motor practice) and set out some trays of colored water to share. They started drip-dropping the water onto the top of their clouds....
...and when their clouds finally got full enough of water - that's when the magic happened! It was such a fun, intriguing way for them to learn that rain is what we get when the clouds get full of water. And they were so excited everytime they made a new "rainstorm"! Almost all I heard for a good 5 to 10 minutes were excited shouts of "Hilary, come look at mine!" "Hilary, come see mine now!" :) They all remained completely absorbed in their project for at least as long as it took them to get to this point... :) It gets hard to see "rain" in a jar like that. :) Since we are pretty used to playing in shaving cream around here, I told the kids it was fine to scoop out their clouds and play with them once they were done making it "rain." So most of them dug right in, scooped out their shaving cream "cloud" and kept coloring and exploring them right on the tabletop. It was a very fun and useful project to occupy us on this rainy day!
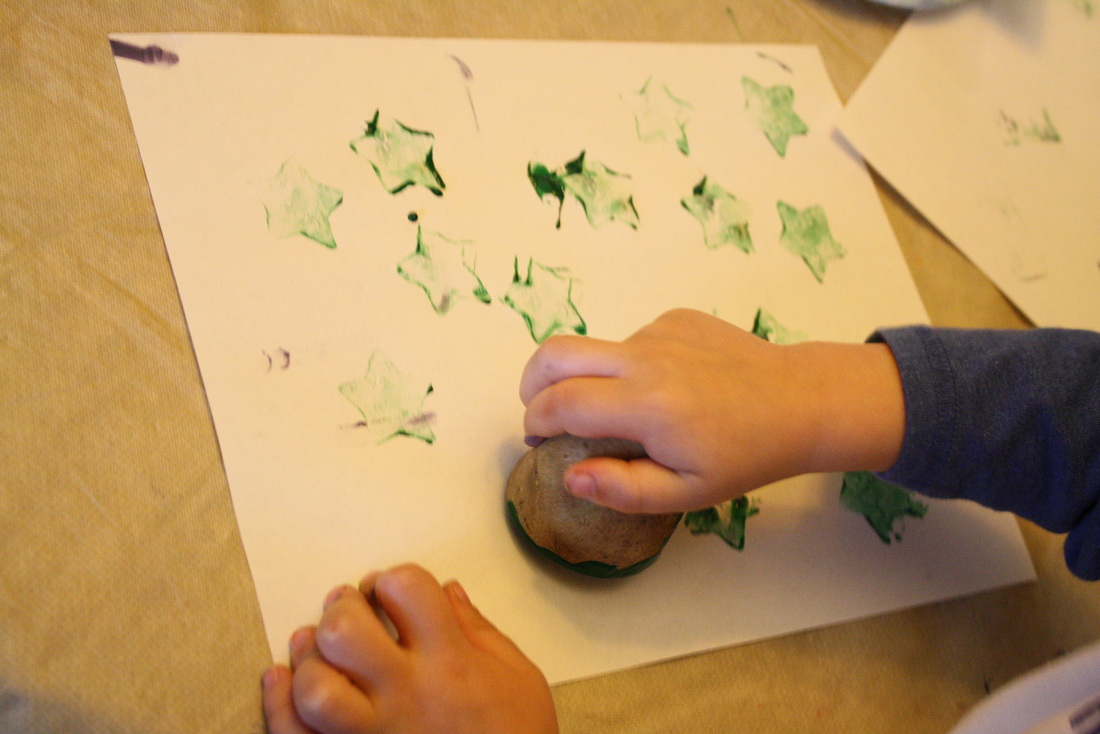
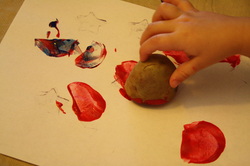 One of the words that the kids came up with yesterday that begins with the letter Pp was potato, so today I made a few potato stampers for them to use with their paint and paper!
The stampers were a fun way to practice our shapes too, especially as the kids had to ask for their friends to pass them the one they wanted to use next. We also read the book called Two Old Potatoes And Me, by John Coy. It made some of us excited to get gardening again! We might just have to try growing our own potatoes this year. :)
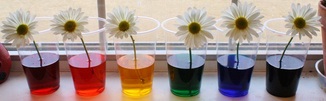 We started off our day by checking in on our rainbow flower science experiment. The red and blue daisies are the first ones to start showing a touch of color in their petals!
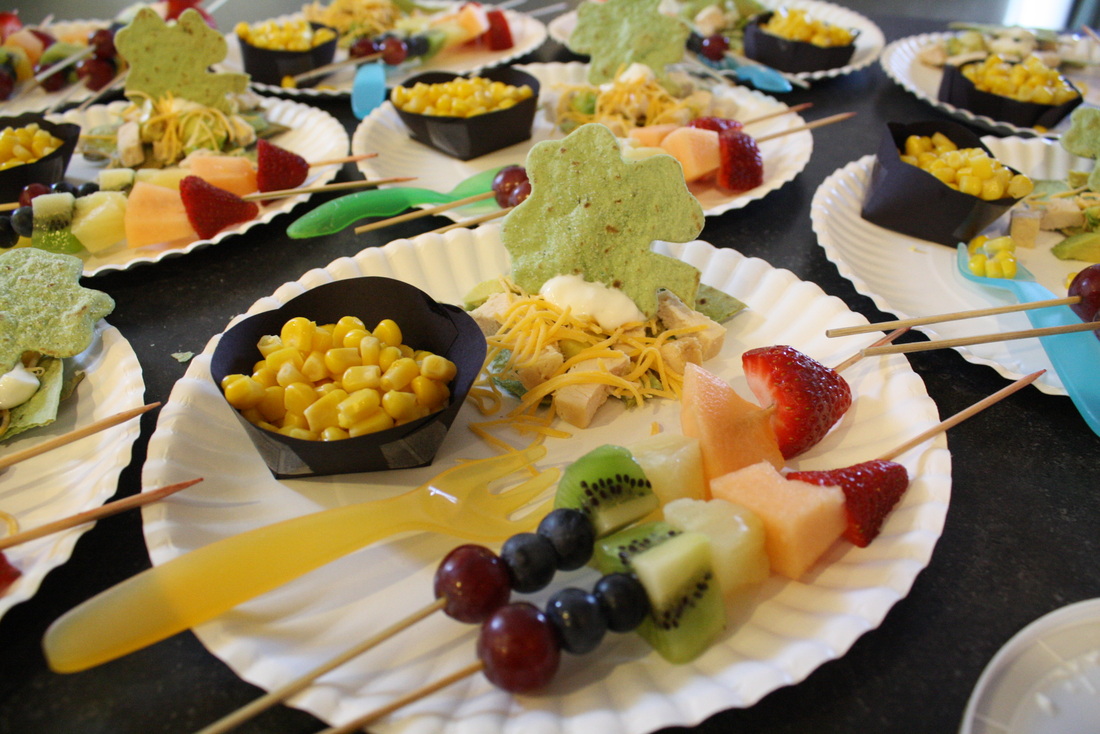
Next, we painted our own Shamrock toast (using the milk that those sneaky leprechauns turned green for the day!).
Later, we made a fun handprint rainbow and pot of gold craft that involved excercising those fine motor skills in order to open up our gold-wrapped chocolate coins. Once we had eaten the chocolate, we were ready to get to work! :) And our special St. Patrick's Day lunch consisted of "a pot of golden corn" at the end of our fruit kabob rainbow, and chicken nachos with shamrock chips and little bits of green avacado!
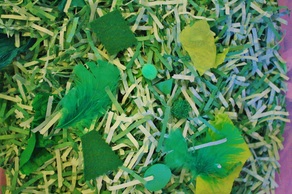 Sensory tubs are "all the rage" in the early childhood community these days, and for good reason. From the time they are born, kids are hard wired to take in as much information as possible through the use of their senses (think babies feeling everything with their mouth). Kids are natural-born explorers and the more opportunities they have to see, feel, hear, smell, manipulate, and explore different things, the more they will learn about the world around them. And in addition to all of that, sensory tubs are a lot of fun! In our sensory tub this week, I used mainly shredded green paper and then added other green craft materials, such as feathers, foam shapes, felt pieces, and tissue paper.
I also tossed in a few gold foil-wrapped chocolate coins that we will be using for a craft project later this week, and buried them under all of the green. The kids are usually pretty excited about getting out the sensory tub, but boy did they get excited when they found that first piece of "leprechaun gold!" They were digging and grabbing so fast that almost all I could catch on camera were blurs of gold! :) Once they were done finding (and hiding, and finding again!) the gold pieces, and finishing up exploring all of the other items in the box, I gave the kids each a shamrock shape paper for them to decorate using those items. We had a fun day exploring our St. Patrick's day theme!
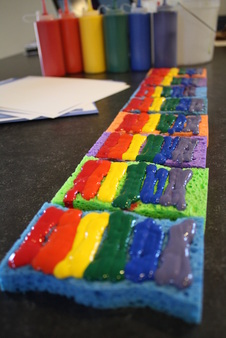 Today we tried out a fun painting technique for making rainbows using sponges. I pre-loaded some sponges with the rainbow colors and then let the kids go with them! I found these great squirt bottles for about a dollar at WalMart last weekend, and they made the re-loading process SO quick and easy (which was great because I did A LOT of that!). They are so easy to use and control that the kids might even be able to use them on their own sometime.
Rainbows are such a fun part of St. Patrick's Day, and the kids had so much fun making their rainbow artwork today, that most of them made at least three or four pages!
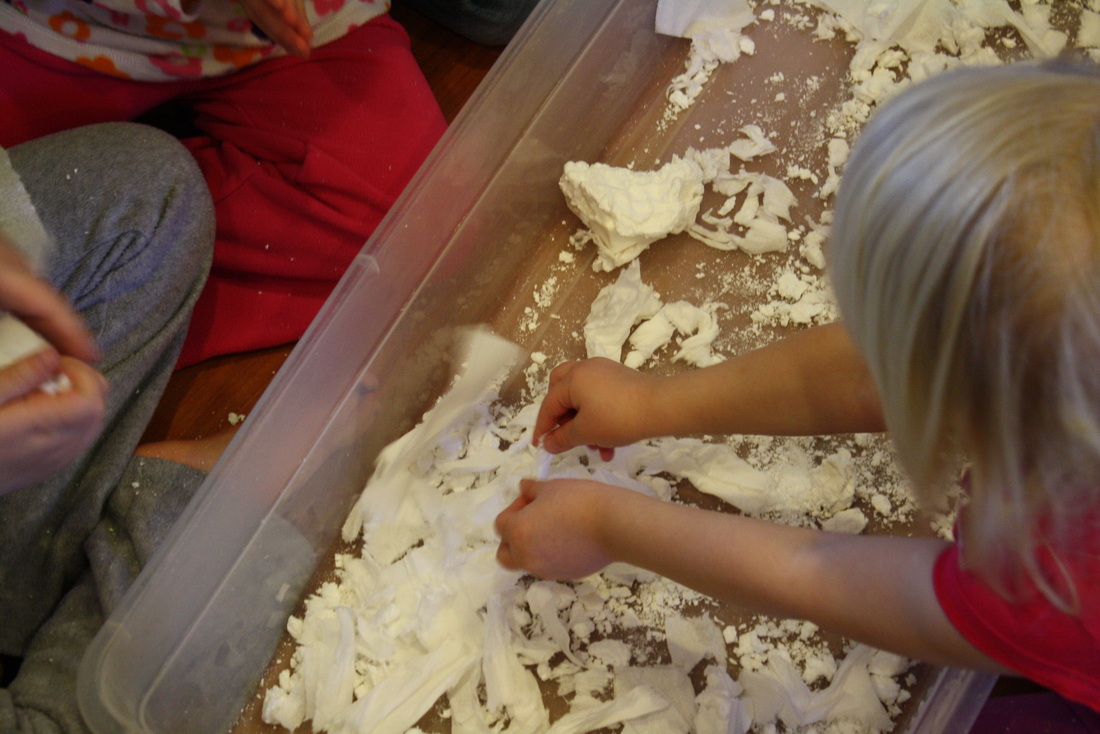
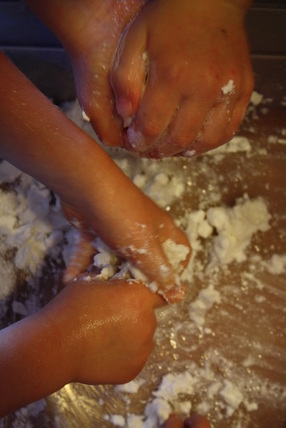
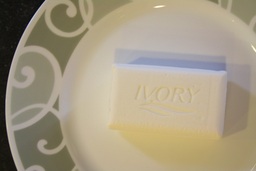 I have seen this activity a few times before, but was most recently reminded of it when I saw it done on one of my favorite blogs, PlayAtHomeMom. To start out, we got out a bar of Ivory soap. Evidently, Ivory soap contains air pockets that other soaps don't, so that is why it has to be Ivory soap for this trick to work. Anyway, we put the soap into the microwave for about a minute, and here is what we got!
You can see a demonstration of it in action here: That part all by itself was very exciting and lots of fun, but we weren't done there. :) We put the exploded soap into one of our sensory tubs and the kids shredded up some toilet paper, and added that and some water to make "clean mud!" Who doesn't love to play in mud, right?!? The kids mixed, and squished, and squeezed, and had lots of fun with it! And the best part was that when it was time to go wash up, they were only covered in soap, so clean-up was super easy! :)
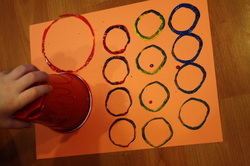 Today we gathered up anything we could find that would make a circle print and we painted lots and lots of circles. Big circles, little circles, medium circles, open circles, filled-in circles, it was all about seeing circles! :) We used tp tubes, lots of different kinds of cups, lids, dishes, and even our fingertips to make lots of different circles. It was a fun way for the kids to see first-hand that a circle is a circle, no matter what size or color!
 Well, Friday was the big day -- Dr. Seuss's birthday celebration! The kids had fun making a Green Eggs & Ham craft using a shaving cream and glue mixture for the egg whites and various other materials to complete their plate. We also had some real green eggs & ham for lunch, of course, and then graphed our results of who liked them, or didn't like them! I am happy to report the the "like" column won! :) For snack time, we had some green vanilla pudding with a vanilla wafer cookie pressed into the middle to look like an egg.
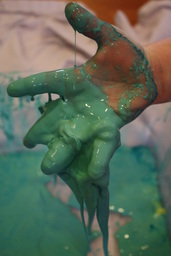
After hearing the story of Bartholomew & the Oobleck, we had to make some Oobleck of our own (using cornstarch and colored water). In the story, the oobleck was green, so I put out some droppers in blue water and some yellow water and the kids got to make their own green. Of course, they had just as much fun playing in the finished product as they did mixing it up. :) "Oobleck" is such a fun substance because once you have added just the right amount of liquid to the cornstarch, the mixture takes on both solid and liquid properties at the same time. It looks liquid, and will drip from your fingers when left alone, but when rubbed or squeezed, it takes on the properties of a solid and will crack and clump.
|


 RSS Feed